How to Memorialise a Facebook Account?
Categories
How to Memorialise a Facebook Account? MyBio.life essential guide
Losing a loved one can be an incredibly difficult and devastating experience. In today’s digital age, we are gifted with the ability to preserve our special memories through photos and social media. Facebook offers a feature called “memorialization,” which allows you to honour the memory of someone who has passed away while also respecting their privacy.
If you are unfamiliar with the process of memorializing a Facebook account, we recommend reading this step-by-step guide to ensure that you can properly pay tribute to your loved one’s memory. MyBio.life is here to help guide you through this process, offering a clear and concise breakdown of each step.
By memorializing your loved one’s Facebook account, you can ensure that their online presence remains a cherished memory. This process can also help loved ones find closure and gain comfort in knowing that their loved one’s memory is being preserved.

How to memorialize a Facebook Account? 5 step-by-step Guide.
Step 1: Confirm the person has passed away
Confirming that a person has passed away is an essential step in memorializing their Facebook account. It’s important to provide proof of the person’s passing to ensure that the memorialization request is legitimate and respectful.
Typically, you’ll need to provide an official document that confirms the person’s death, such as a death certificate or obituary. If you’re not sure where to obtain these documents, you can reach out to the relevant authorities, such as a hospital or funeral home, for assistance.
It’s also worth noting that Facebook may require additional information to confirm the person’s passing. For example, they may ask for the person’s birth and death dates or information about their relationship to the person requesting the memorialization.
Once you’ve gathered all the necessary information and documentation, you can move on to the next steps in the process of memorializing a Facebook account. While this process can be emotional and challenging, it can also provide comfort and closure for those who are grieving.
In Australia, the relevant authorities that provide death certificates are the Registry of Births, Deaths and Marriages in the state or territory where the person passed away.
Each state and territory has its own registry, and the process for obtaining a death certificate may vary slightly depending on the location. You can find more information and contact details for each registry at the following websites:
- Australian Capital Territory: https://www.accesscanberra.act.gov.au/app/answers/detail/a_id/93/~/births,-deaths-and-marriages
- New South Wales: https://www.nsw.gov.au/services/births-deaths-marriages/births-deaths-marriages
- Northern Territory: https://nt.gov.au/law/bdm
- Queensland: https://www.qld.gov.au/law/births-deaths-marriages-and-divorces/deaths-and-burials
- South Australia: https://www.sa.gov.au/topics/family-and-community/births-deaths-and-marriages
- Tasmania: https://www.cbos.tas.gov.au/topics/registering-events/death
- Victoria: https://www.bdm.vic.gov.au/deaths
- Western Australia: https://www.wa.gov.au/organisation/department-of-justice/registrars-general-office/births-deaths-and-marriages#certificates-of-death
It’s worth noting that the process for obtaining a death certificate may involve fees, and the processing time may vary depending on the registry and the circumstances of the person’s passing. It’s always a good idea to check with the relevant authority for more information and guidance.

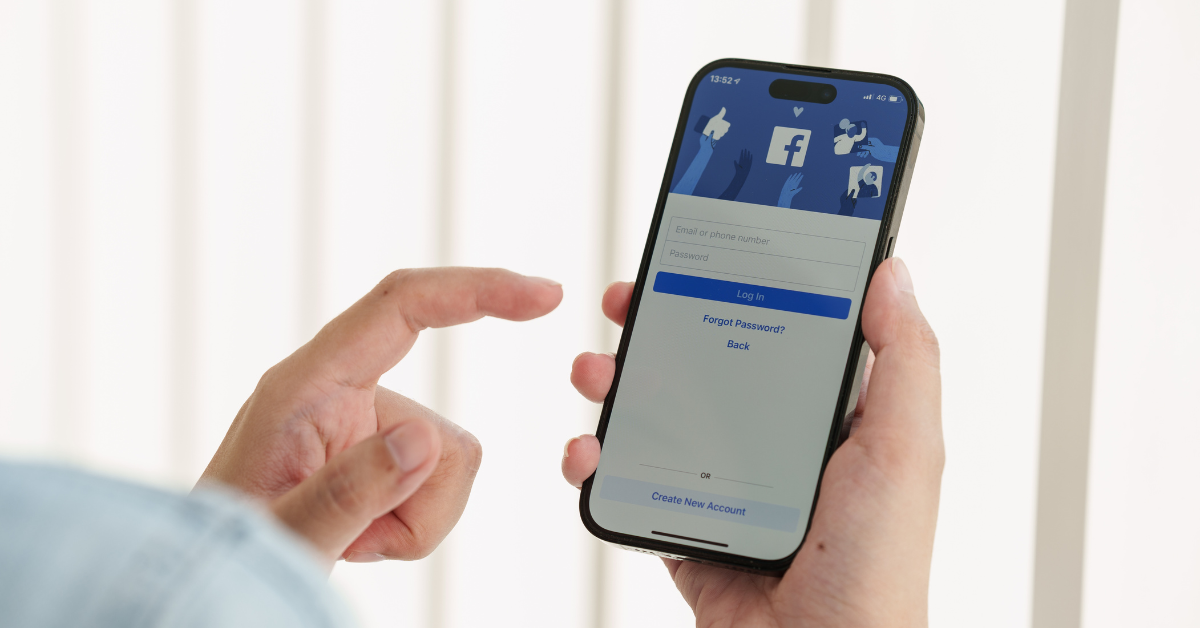
Step 2: Log in to the person’s account
Once you have completed the first step, you’ll need to log into your loved one’s account. This may seem like a daunting or intrusive task, but it’s necessary to access the settings and initiate the memorialisation request.
If you have access to the person’s login credentials, you can log in using their email address or username and their password. If you don’t have access to their credentials, you may need to request access from Facebook or seek a legal assistance.
It’s important to note that accessing someone else’s account without their permission is generally against Facebook’s terms of service and may be illegal in some circumstances. It’s always best to obtain permission from the person’s family or next of kin before logging in to their account.
Once you’re logged in to the person’s account, navigate to the Facebook Help Centre and search for “Memorialisation Request.” From there, you can follow the prompts to initiate the memorialization process.
Facebook may require additional information and documentation to verify the person’s passing and your relationship with them. You may also be given the option to add a legacy contact, who can manage the memorialised account and post updates on behalf of the person’s friends and family.
Remember that this process can be emotional and challenging, so it’s important to take care of yourself and seek support from loved ones or a mental health professional if needed.
Step 3: Click “Settings & Privacy”
You are now ready to click on “Settings & Privacy.” This will allow you to access the settings menu and make the necessary changes to initiate the memorialization request.
After logging in to the person’s account, you will find a navigation menu at the top of the screen. Click on the downward-facing arrow on the right-hand side of the menu to open it and then select “Settings & Privacy” to open the settings menu.
You will then see a list of options on the left-hand side of the screen. Scroll down to the bottom of the list until you find “Memorialization Settings.” Click on this option to open the memorialization settings.
In the memorialization settings, you will be prompted to provide information about the person’s passing, such as their birth and death dates and a link to their obituary or other official documentation. You may also be given the option to add a legacy contact, who can manage the memorialized account and post updates on behalf of the person’s friends and family.
Once you have completed these steps, you will need to submit the request to Facebook for review. They may require additional information and documentation to verify the person’s passing and your relationship with them
Step 4: Provide Proof of the Person’s Passing
Facebook requires proof of the person’s passing before they can memorialize the account. You’ll need to upload an obituary or death certificate.
It’s important to ensure that the proof provided is accurate and matches the information provided in the earlier steps. Facebook may reject the memorialization request if the information provided is incomplete or inaccurate.
They may require additional information or documentation before the account is memorialized, and the processing time for memorialization requests can vary and may take several weeks.
Step 5: Choose a Legacy Contact
A Legacy Contact is a person you choose to manage your Facebook account after you pass away. This person can write a post to display at the top of your memorialized Timeline, respond to new friend requests, and update your profile picture and cover photo.
To choose a Legacy Contact, you’ll need to be in the Memorialization Settings. Once you’re there, scroll down to the bottom of the page and click on “Request Account Deletion” under the “Account Management” section.
You’ll then see the option to choose a Legacy Contact. Click on “Edit” to select a person from your Facebook friends list. You can only choose one person as your Legacy Contact, and they must also have a Facebook account.
Using MyBio.life App, you can easily create and organize your end-of-life plan, including important documents, passwords, and preferences for your memorialization on social media platforms.
One of the features of MyBio.life is the “Legacy Planning” feature, where you can choose and register your Legacy Contact for Facebook. You can add details such as the name, email address, and phone number of your Legacy Contact. You can also specify the access level you want to grant your Legacy Contact for your Facebook account, such as whether they can download your data or make posts on your behalf.
In addition to choosing your Legacy Contact, MyBio.life also allows you to record other important information related to your Facebook account, such as your login credentials and other social media accounts you may have. This can be helpful for your loved ones to access and manage your accounts after you pass away.
It’s important to choose someone you trust as they will have access to some of your personal information and photos. You may want to discuss this decision with the person beforehand and make sure they are willing to take on the responsibility.
If you don’t want to choose a Legacy Contact, you can also choose to have your account permanently deleted after you pass away. This means that your account will be completely removed from Facebook and cannot be accessed by anyone.
Step 6: Submit the Request
Once you’ve provided all the necessary information, click “Submit” to request the memorialization of the Facebook account.
After Facebook has reviewed the request, they will memorialize the account. The profile will display “Remembering” next to the person’s name, and only confirmed friends can see the profile or locate it in a search. Friends and family can still post memories, photos, and condolences to the person’s timeline.
In conclusion, memorializing a Facebook account is a simple process that allows you to pay tribute to a loved one’s memory. We hope this step-by-step guide has been helpful in navigating the process. If you need further assistance, Facebook offers a dedicated Help Center page with more information on how to memorialize a Facebook account.
If you’re looking for more information on estate planning and wills, we highly recommend checking out our informative article about probate court. This article will provide you with valuable insights and important details about the probate process and how it relates to estate planning.